One of these tools is Recon-ng, an OSINT (Open-Source Intelligence) gathering tool written in Python. For users conversant with Metasploit, using Recon-ng can be a walk in the park because of their striking similarities both in structure and interface appearance. Recon-ng comes readily installed with Kali Linux but has to be manually installed for the other flavors of the Linux operating system. This can be as simple as cloning or downloading it from GitHub. Below is a link to the
https://github.com/methos2016/recon-ng
After installing Recon-ng, the tool can be used by typing recon-ng on the terminal as so: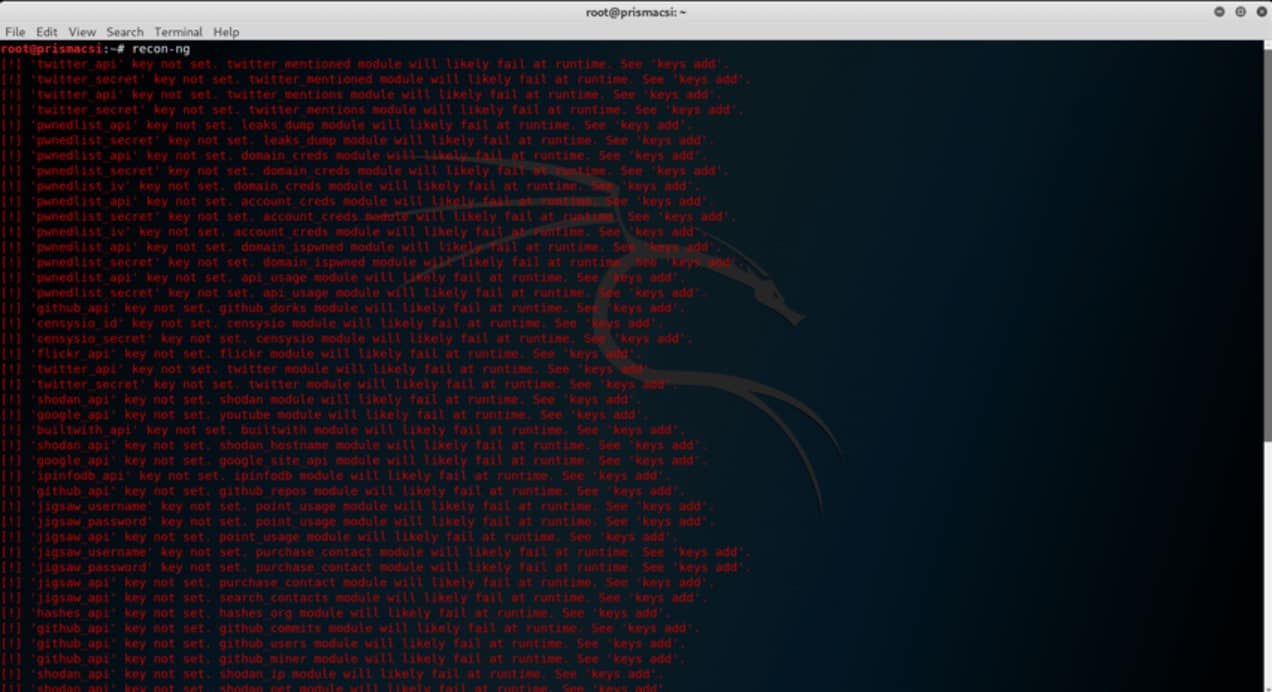 Typing show displays the numerous selectable options:
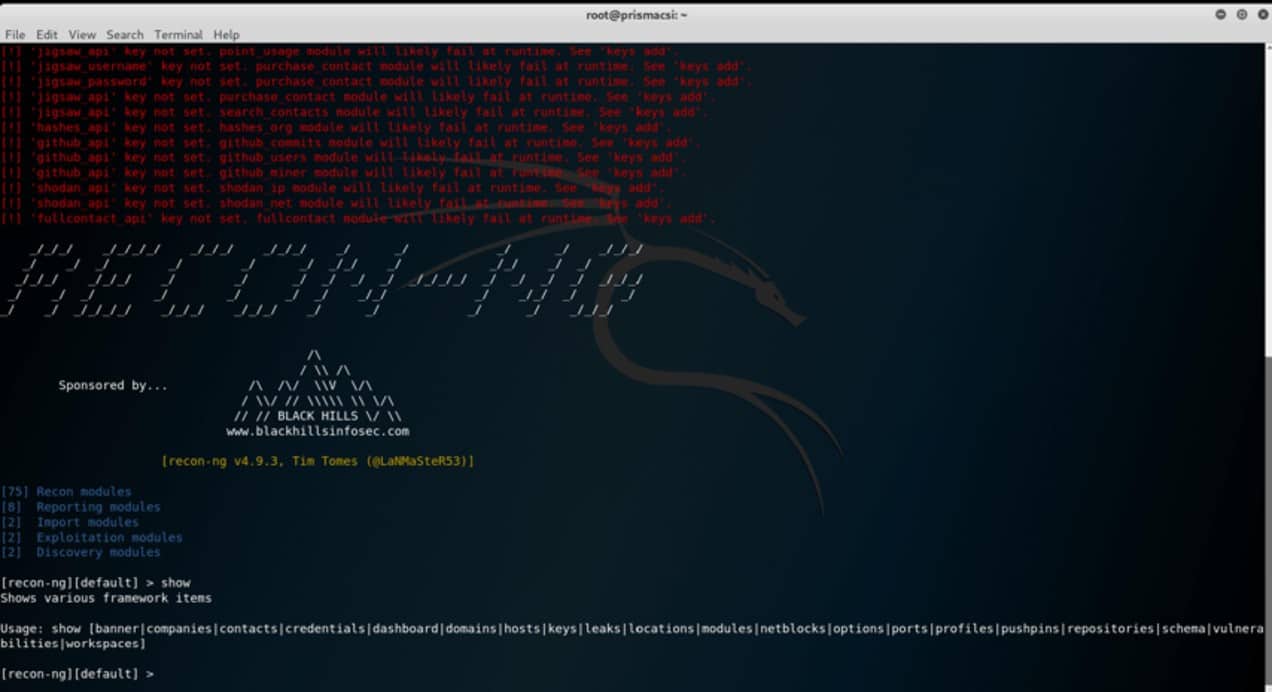 From this point it is all up to the user to utilize the built in features depending on their target and purpose. Explaining and demonstrating all the features of recon-ng is out of the scope of this article but examples of but a few information gathering techniques using the recon-ng web reconnaissance framework are illustrated below.
Initially the selected workspace is the ‘default’ workspace but a user can add their own workspaces by using the simple command:
workspaces add <desired_workspace_name>
To confirm that the workspace has been added to the built in database type:
show workspaces
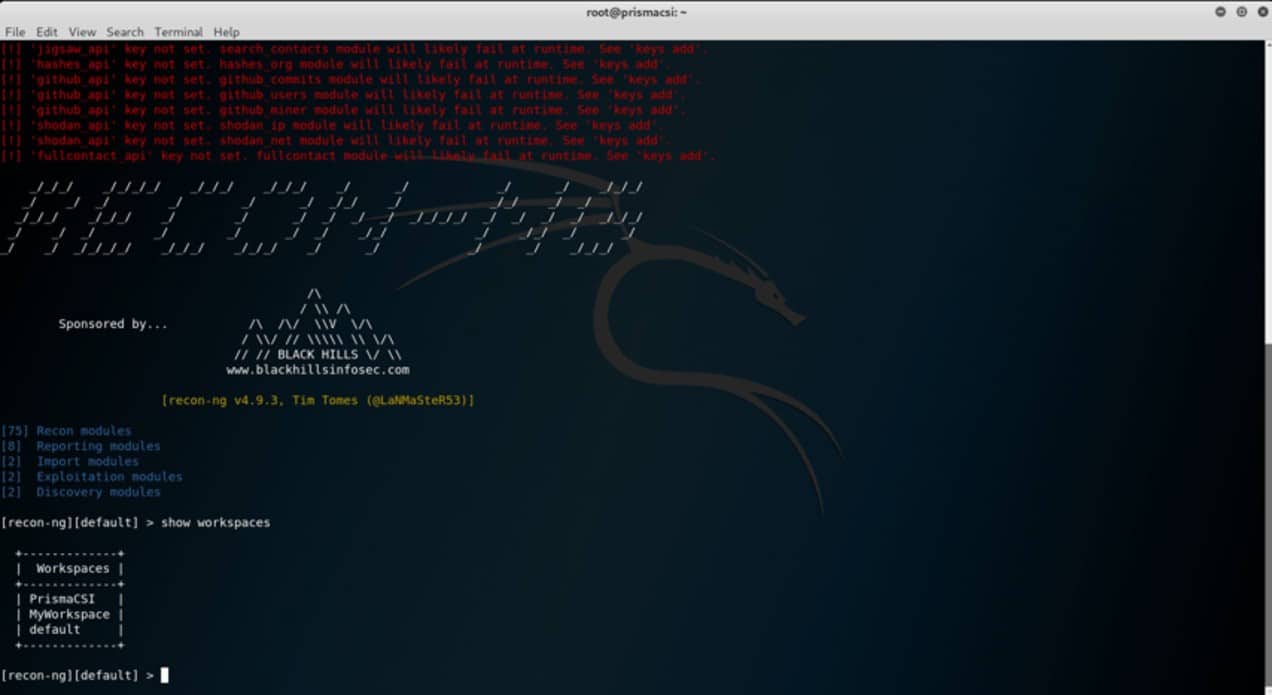 Jumping into a desired workspace is as simple as:
workspaces select <name_of_workspace>
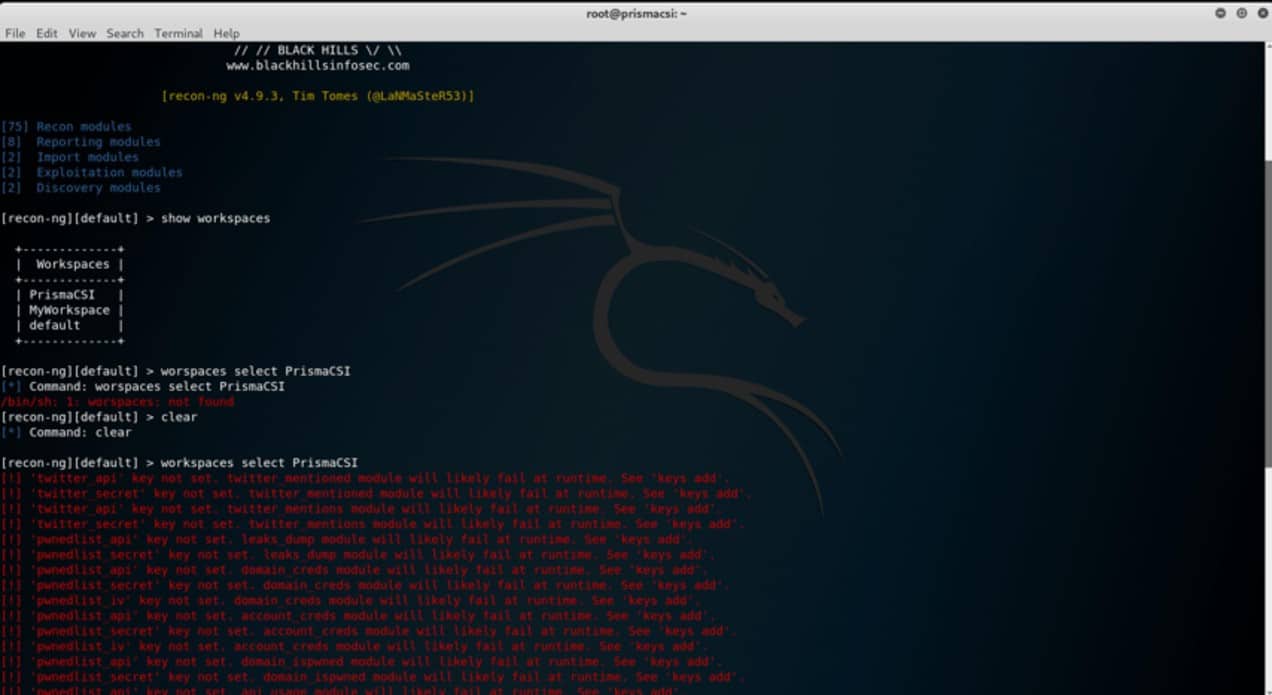 There are many in-built modules that can be selected and used in information gathering. This feature is likened to that of Metasploit where typing show modules gives a list of all the available modules.
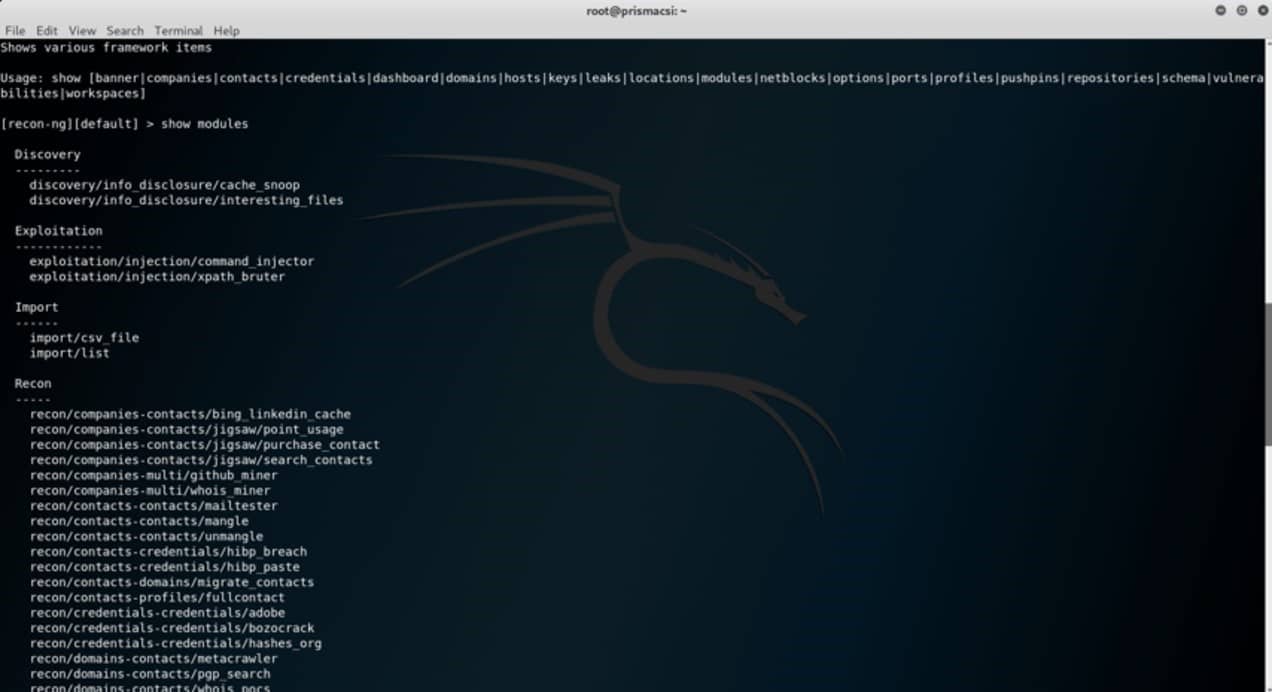 However, to be able to use some of the module API keys are a must. Examples are the twitter, google and bing APIs.
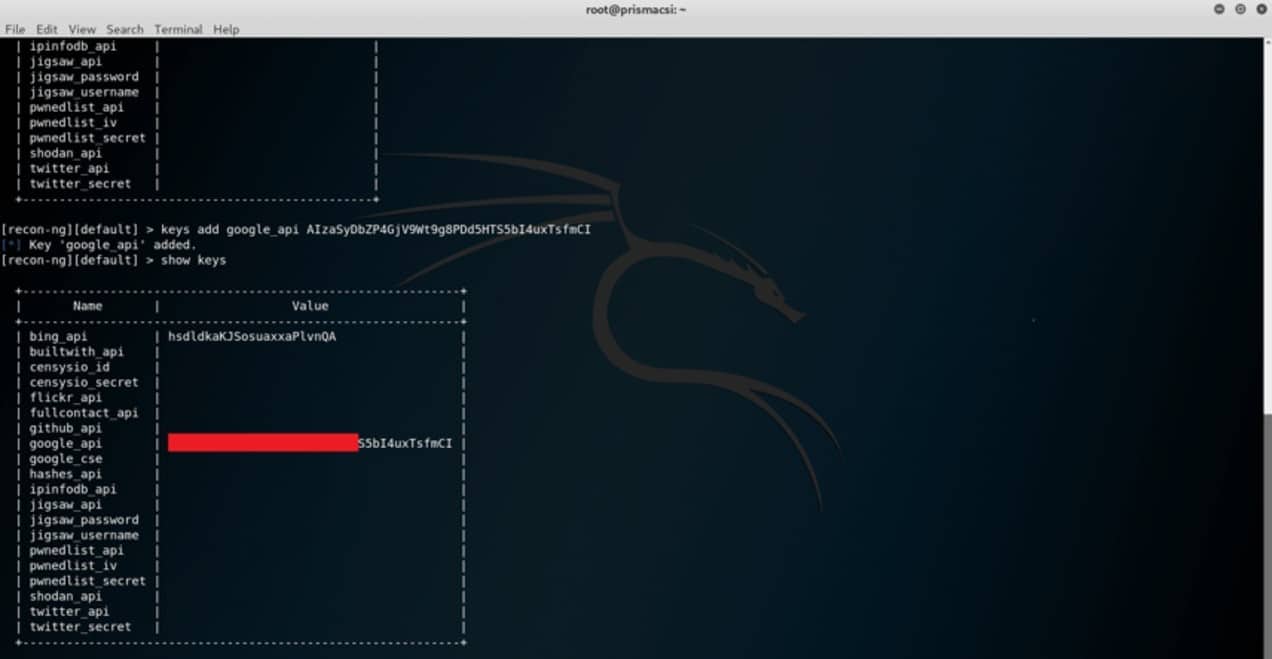
keys add <api_key>
to add a specific API key for a module. Keys already stored in the database can be viewed as illustrated in the screenshot above.
Scenario:
Let’s assume that a hacker is looking into using the recon/domains-hosts/google_site_api module to harvest hosts using the ‘site’ search operator implemented in the Google Custom Search Engine API.
show modules
Scroll to the desired module and type the following into the command line:
use recon/domains-hosts/google_site_api
This command sets the module to be used in recon. However, there may be a need to specify other parameters before launching the reconnaissance process.
Typing the following command into the command line shows all the other options that can be specified for a given module before it is launched.
show info
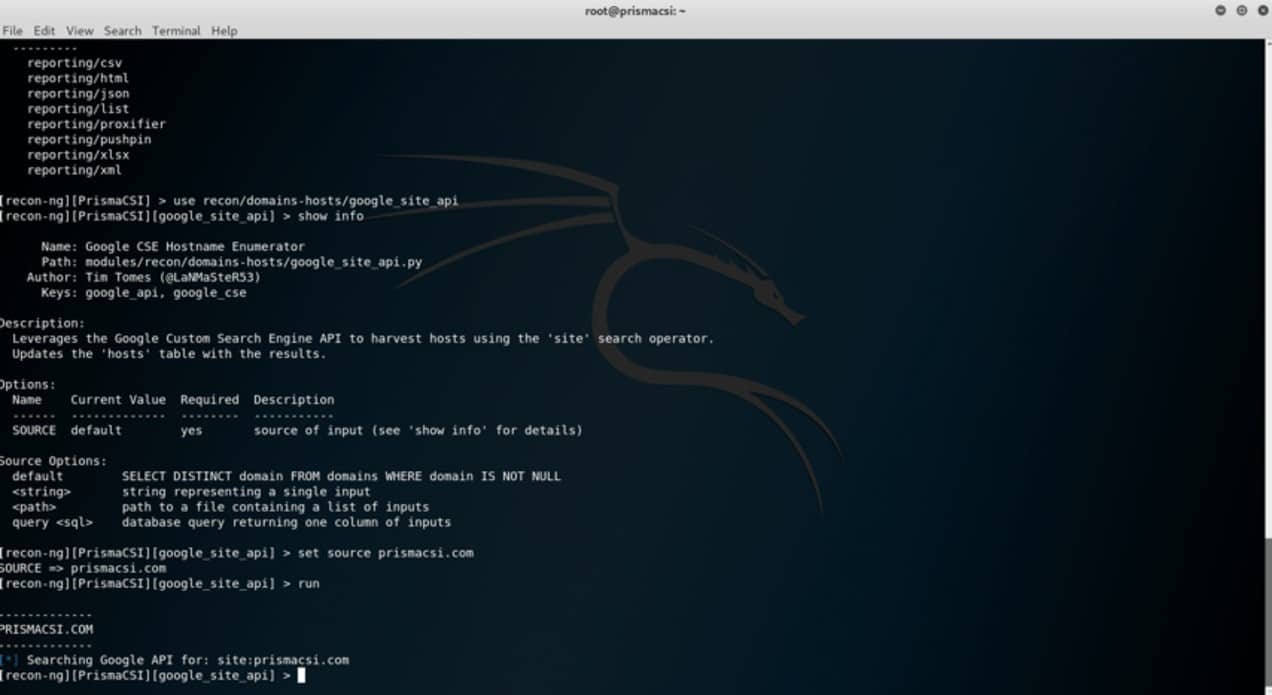 After setting all the required options, typing run as shown in the screenshot above launches the reconnaissance process and results can be viewed at the end when the process is complete. Such recon operations can either end with the desired positive results (some gathered info is returned) or negative results as can be seen above indicating that no hosts were harvested after a run of the tool.
A successful recon run can be seen in the screenshot below.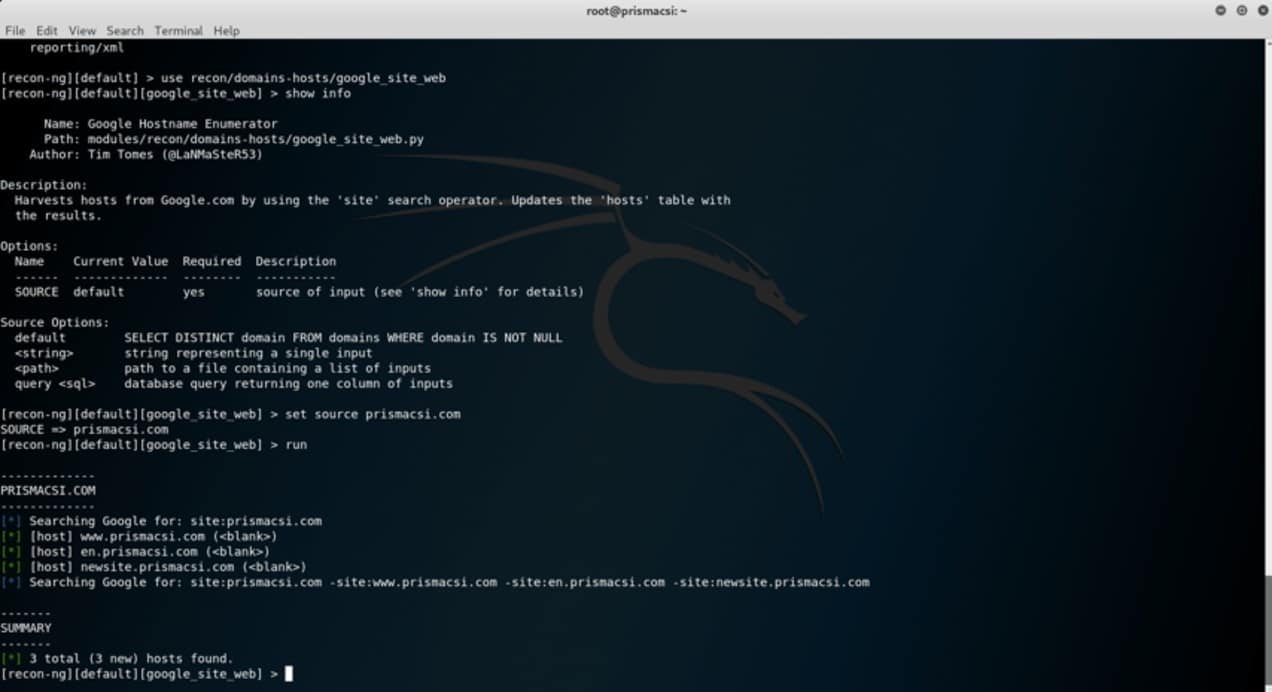 A total of three hosts can be seen to have been harvested from the source website.
All the other modules built into recon-ng can be accessed and used in a similar way depending on the need of a hacker or penetration tester using the tool. Instead of going about using several tools to collect information before a hack, recon-ng, which is bundled with multiple modules implementing already existing tools, can be deployed to make work a lot easier, faster, and organized for the hacker.
If you have a question about the blog post, you can contact us.
Ian Kings


